Showing posts with label Refashion. Show all posts

Friday, August 1

Refashion: making a Kimono from a Scarf


for this project you will need:
-5 minutes of your time
-one large scarf, (if it is a skinny long scarf it will hug your body tightly instead of loose and flowy, if it is a wide but short scarf it won't cover your entire torso so try to use a wide and long scarf for this refashion, i got mine from target, but this one would be so cute ! and for only 7 dollars you can't go wrong!)
-thread to match
-sewing machine, serger, or both.
-scissors

first you take your scarf and fold it in half hamburger style so that the two shorter sides are touching and make sure the right sides are together!

next you sew (or serge, although i prefer sewing) 2/3 of the way up towards the fold both sides to create a armholes.

next you are going to cut up the middle of one half of the fabric, this is creating the kimono opening and neck. (your head will be at the top of the photograph if that helps you visualize how this will all turn out)

next you need to create a wider opening for your neck, so cut about 8 inches length wise along the top fold, 4 inches long on each side of the cut you just made, and then diagonally take that cut towards your center cut making two triangles. or creating a "V-neck" look.

try it on to make sure it looks right, for me i did not like all the yellow in the center of my chest, and i thought there was too much bulky fabric.

so... i cut more of the material off to create a removed rectangle area as you can see in the picture below. so that it kind of looked like an oversized vest with sleeves.

then i tried it on again, and liked it, so i used my serer and serged around the unfinished edges along the opening of the kimono and the neck. if you do not have a serger, do a rolled hem, or simply use a zig-zag stitch right along the edge to create a make-shift serged finish.

cut off excess strings and your all done!


in the end it took a total of 3 seams, one on each side, and the one long serger stitch around the middle and only one cut. how easy is that?? and, because i used a bit thicker of a scarf i can continue to use this kimono in the winter for added warmth! i plan on making more kimono's using this tutorial later with much lighter material and i'll post those too so you can see how those look. i am sooo happy with the way it turned out and cannot believe how easy it was! next time, with the next project i plan on adding a bit of lace trim along the edges to give it a little more POP!

stay tuned to see how it turns out!

Thursday, December 26

Christmas Eve (and a tree skirt tutorial)

**if you're here just for the tree skirt tutorial feel free to zoom down to the end of this post. **

here's what happened this year for Christmas Eve!


^^ we spent the afternoon wrapping presents, and coloring on them.^^
^^before bed, Santa came to visit! at first she was not so sure of him, eventually, after being given a candy cane, she at least looked at him. we are definitely teaching this girl the rules about taking candy from strangers. :)^^
 ^^grandma and Santa, i can still say "i saw mommy kissing Santa Clause!"^^
 ^^waving goodbye after putting out all the presents^^


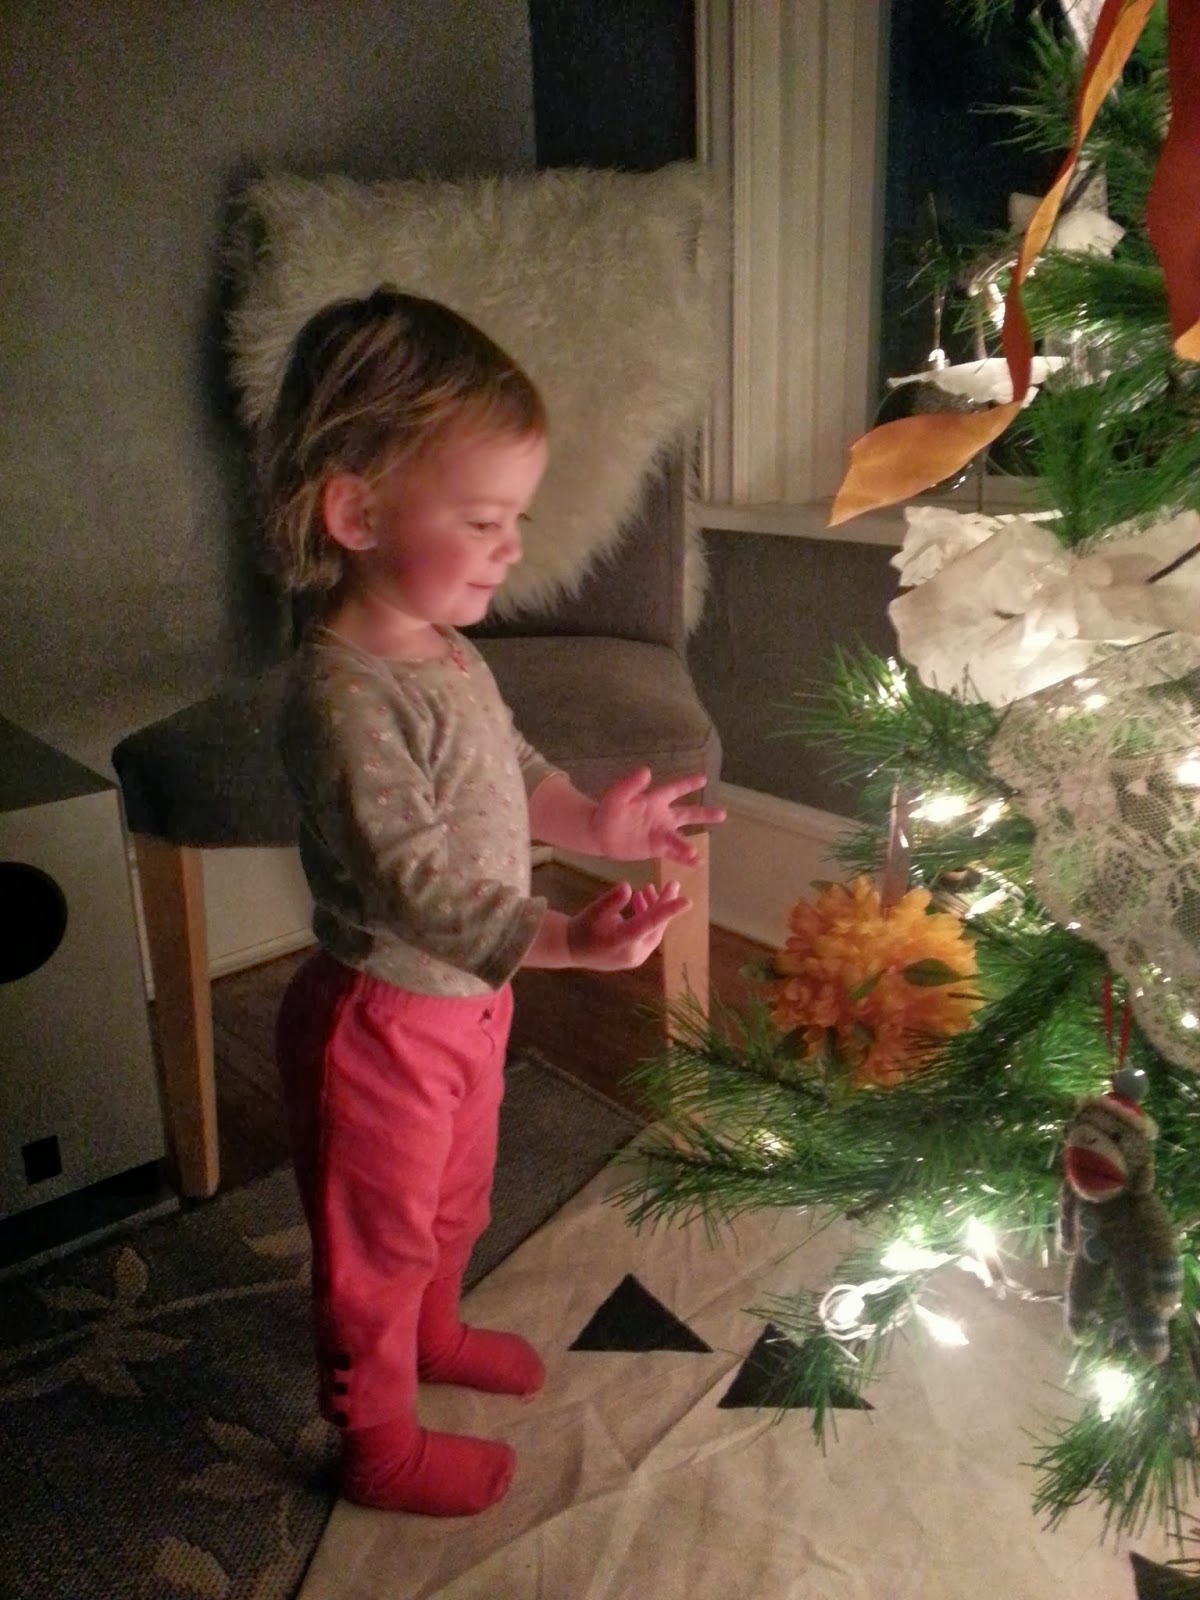
 ^^that scene that parents dream about come Christmas time, all the presents are out, the kids are asleep, and the house is silent, just in anticipation for the morning. sooo dreamy"^^
that tree skirt has a funny story behind it, a few months ago some girlfriends and i got together to make tee-pee's for our kids, well, after cutting them out, painting them, and letting the paint dry, we came to realize that we had cut them out too small, and just wrong altogether. soo... i kept this material waiting in the bottom of Bayli's dress-up clothes, hoping for a magical idea to pop into my head to figure out what to do with it. well... when the time came to set up the tree, we were thinking about using the same ribbon "faux tree skirt" as we did last year, and the year before that. but, knowing that we have hardwood floors this year, and with Bayli and Baxter playing with the ribbon all day, everyday, it just seemed like a hassle because the ribbon would move around so much.
that's when the idea was born to turn our almost tee-pee into a tree skirt. i LOVE that the two triangles sorta look like a modern twist on a Christmas tree (even though they were intended to be Indian symbols), and i also love how over-sized it is, it kept alllllll the pine needles trapped on the skirt as they fell, and clean-up was so easy. needless to say, this random piece of material has found it's home. we are so excited to use it year after year.

Instructions:
buy a burlap painting sheet at lowes/home depot/etc, i think ours was 12.00
find the middle of the sheet, mark it.
measure from the middle of the sheet to the closest edge,if you want it to be as big as mine, if you want it smaller, just measure 1/2 of the total width you'd like your circle.
cut a piece of string the exact measurement from above.
use that string to make a "makeshift compass" by having someone place their finger on top of the string in the middle of the sheet, holding it tight. then, on the other end of the string, use a pen to mark where you will be cutting as you walk and draw along the sheet holding tight to your end of the string.
cut out the circle, and cut a small hole in the middle around the center mark you did earlier so that the tree trunk will fit inside.
if you're worried about frayed edges, serge or  hem the outside edge. i just folded mine under every few inches which gave it that octagon shape.
cut a triangle stencil (or any other stencil you prefer) out of plastic/cardboard/etc.
paint inside the stencil with black paint and a stencil circle sponge.
let it dry.

Friday, October 19

Girls and Bows

in case you missed my guest post on my friends blog a few days back, here it is for you to see!
 today i am going to show you a very simple refashion. making a bow -or twenty- out of an old vest. although i must warn you. bows don't require much material, you can make them out of basically anything, all it requires is a few stitches and a dollop of hot glue. they are extremely simple so im just saying, if all of a sudden everything you own is covered in bows because they are cute and sooo easy to make... don't blame me.

supplies:
material or old piece of clothing
sewing machine
hot glue gun
scissors
whatever you want to attach the bow to, ie: headband, safety pin, elastic, bobby pin, clip, hair-tie, t-shirt, shoes, etc.

instructions:
1. cut out your piece of material. my square was 4.5x6.5 inches long. (i got these measurements because i knew i wanted a 2x3 inch bow, so you double those numbers, and add 1/2 an inch to each as a seam allowance.) if you would like to make a smaller or larger bow, feel free to change the numbers to whatever you wish.
2. sew right sides together in order to make a long, skinny tube.
3. take the tube, and flip it right side out. making sure the seam is in the middle.
4. flip the tube right sides together and sew the raw edges together
5. flip that right side out and make sure the seam is in the middle of the back.
6. pinch/fold the middle of the tube together in order to make it look like the bow you want. i recommend sewing one or two stitches through all the folds in the material to help the bow keep it's shape. you will want to do this by hand or very slowly on the machine by turning the wheel yourself, not using the foot pedal unless your material is very thin.
7. now you need to create the strap that goes around the bow. you can make a tube by doing steps 1 and 2 over again on a very small thin strip of material you will want to use a safety pin or crochet hook to flip it right sides out or, use a ribbon /knit material which you will not have to sew because they do not fray, use a scrap of material without sewing it, knowing that it will probably fray or do what i did and cut off the belt loops from the original vest that i got the material from.
8. tightly wrap your strap around the middle of the bow, place a dollop of hot glue on one side of the strap
9. press the other side of the strap over the top, this creates a circle around the bow. make sure not to get any glue over the edges of the strap and onto the bow because this will make it difficult to attach to your project that you will be using the bow for. here are some examples of what you can do.
10. cut off any excess
here are some ways you can use your new bow!
hot glue one or two onto a wreath
turn them into a bow for your hair by attaching them to the top of a crocodile clip or onto the end of a bobby pin.
make a headband for you or your little girl or a bow tie for your husband or little boy by sewing it to a circle of elastic. you do this by cutting a piece of elastic to fit. place a safety pin on one end of the elastic, thread it through the strap of the bow. and sew the two ends together.
use it as a broach or safety pin it onto practically anything like a hat, a cardigan, or a scarf.
my daughter and i love our new bows. i bet that you will see the two of us wearing these on our family Christmas cards this year. maybe i can even convince my husband to wear a bow tie out of the rest of that same vest. i will put our Christmas cards on my blog so make sure to check back and see if i was able to convince him to wear the bow tie or not. i'll be taking bets on this subject same time next week. ;)


Friday, October 12

today...

today, i am going to my grandmothers funeral.

but... luckily for you i am also guest blogging over at my friend Katie's blog. go and check it out. i did a tutorial just for her last night about how to make some super cute and easy bows with a list of some really awesome ways to use them. here, i'll give you a sneak peak...

click here to go to the full post on her blog.

Thursday, September 27

my first attempt at upholstery

this ottoman  from Target (and only $17.00!) has been used for so many things. i bought it when i first moved out of my house when i was 18. and have continued to find many uses for it from being a chair, to holding my printer, to now being a key part of Bayli's nursery. i love the storage space in the ottoman and have found it to be the only place in her nursery that fits all most of her blankets.

to be honest, when i started this project i really was just winging it. i have never done any work with home furnishings before (besides curtains which don't count in my opinion cause they are so easy...) i really was surprised by how simple this was, i guess because there is wood and staples involved it seemed daunting but to be honest it was much easier than making a shirt. but... because it was my first time doing anything like this, i only decided to do a tutorial for it halfway through the project, which means i'm missing a few pictures so, here's what we've got. -i am going to refer to the two pieces of the ottoman as the "body" and the "lid"-

Supplies:
1/4"/6mm staples
stapler/staple gun
1 yard of material (mine is from Hobby Lobby)
 knife/pliers (for removal of staples)
seam ripper
scissors
thread to match
pins
sewing machine

first you remove all the staples that hold the teal material and the black/brown lining to the wood. my husband did this with a knife and pliers. make sure you pay close attention to how they were stapled together as you will be replacing all those staples at the end of the project. (not pictured)

 next unpick the teal outer covering of the ottoman, this ottoman was held together with just bias stitches so it was a lot easier than i thought it would be. this is done because i used the unpicked pieces as my pattern. once they are unpicked you should have items like those pictured below.
 cut out the four sides of the body, i did this by folding the material in half, and in half again, then cutting out the rounded square on the non-folded corner. the left over material you will use to do the lid's top and sides and the binding.
 next you sew the four sides together (with at least a 1/2" seam allowance) by placing right sides together until you form a loop.

then sew that to the lining of the body. this is a bit tricky. there is a wood base that is inside the lining, so, making sure the right sides are together, pin and sew the two together (with 1/2"" seam allowance) by flipping the outer material inside out and placing it inside the lining all the while keeping the wood inside. you might need someone to help hold the wood upright while you sew.


check to make sure it fits around the frame of the ottoman, if it does, you are finished with the body... mostly.

next you do the binding of the lid, the styrofoam binding that the manufactures used, i just recycled and used again but they sell binding at the store if you want to use that instead. cut a 2" strip that is the length of the binding, fold in half with the binding on the inside (right sides out) and sew up next to the binding.
 i didn't know a more professional way to connect the two edges because the styrofoam would not slip through the material like a usual binding so i simply sewed them together and cut off the excess. this is the one "blemish" on my ottoman, but i could not figure out how to do it differently. if you know a way, then feel free to say so in the comments below.
next you cut out the rectangular sides and the top of the lid, using the pieces you unpicked as a pattern. make sure if you are using a material with a design that you match the designs up, for example you would not want your stripes to all be horizontal for the sides and vertical for the lid, etc. (not pictured)

now  make a loop out of the four side pieces then you pin them all together with the binding in the middle, right sides together.
sew. make sure that when you sew them together you hug as tightly as you can to the binding "poof" and be careful around the corners. this way, your stitches from when you sewed the binding inside won't show when everything is flipped right sides out and pulled taught.
 place over top of the lid to make sure it fits the way you want, if it does, you move onto stapling.

because you remembered where and how to staple the material to the frame, and the lining on top of it all, like i said earlier. i am not going to type it all out. also, i wasn't the one that did it so i honestly don't know. but, you want to make sure that you use staples that are 1/4"/6mm long. any longer and it might poke through. pull tight so that it looks professional, and cut off any excess that might show.
the finished product! i seriously love it, it looks so much better in the nursery than the awkward teal one it was before. i must admit, this upholstery thing is kind of addicting. i'm currently on ksl looking for some chairs or stools to do next!