Showing posts with label How To. Show all posts

Monday, September 12

My Favorite, Holy-Grail, Eyeshadows


about 2 months ago, I purchased 21 individual eyeshadows from Makeup Geek. after hearing everyone rave about them on youtube, I figured I should give them a shot even though i'm usually pretty reluctant to buy something without swatching it (which is why ulta and sephora get soooo much of my monies) but, i'm so glad I did! for only 5.00 a shadow these babies are a STEAL!

when I got the package in the mail, I filmed an unboxing video for you cause I was sooo excited. I muted the audio during the unboxing because my little girlish screams were so annoying -I truly was that excited- then, after opening them, I decided I needed to include a little tutorial, and give my first impressions to see if they were worth the hype. and they did not disappoint! watch the video, here's a link.

it's taken me 2 months, like i mentioned earlier, to get this video up onto my youtube channel, BUT... that just means I can give even more of an in-depth review for you. these shadows are officially my favorite. they have replaced all of my other eyeshadow palettes, my top 3 favorite shadows thus far are...
Peach Smoothie
Cocoa Bear
Grandstand

and of course, you NEED a z-palette to put them in, they have 3 sizes, small, medium, and large. i'd suggest getting a large, cause it's not that expensive and you can put any brand of shadows in them, just google de-potting that kind of eyeshadow and i'm sure there will be a tutorial online showing you how to do it. i've de-potted all of my individual mac and nyx shadows into another z-palette that i was given for christmas last year. it's awesome!

Wednesday, July 13

Scrunched Hair: the aftermath


By now you should all know that i try to go as long as possible in-between hair washings. not only because it saves me time, but also because my hair is so much healthier when i don't wash it as much! one of the biggest reasons why i had to wash my hair so often before i started using dry shampoo was because i would wear my wavy hair "scrunched" frequently. if any of you have worn your hair scrunched with gel, or mouse, or hairspray, or freaking egg whites, or whatever other binding agent pinterest has come up with lately, then you know that day 2 hair after scrunching is A MESS. it's so dry, and so full of products, and such a weird frizzy, dread lock kind of style. well, in my latest youtube video, i show three different days worth of styles i do to prolong that scrunched look, and refrain from washing!!

it might seem like basic principles to some, (basically the video is just: brush hair, apply conditioning creams and dry shampoo, re-wet to activate curl, and scrunch again) but this is one of the more frequent questions i get asked at the salon from my clients! and because i don't do their hair on "day 2" (or 3, 4, 5 etc) then i don't ever get to teach them how it's done. so... i hope you enjoy! (the products i use are linked in the description box beneath my video!)

and honestly, unless you are someone with wavy hair, that hasn't figured out how to style it on day 2, then this video isn't for you, but hopefully it will help at least one person!

thanks as always!

here's the video:

Thursday, July 7

I Made A YouTube Video!!!


Hey Guys!

I started a new YouTube channel!!!! my first video is all about how to properly apply products at the scalp (like dry shampoo, powders, and root lifters)

here's the link if you want to watch it! (but i suggest watching it here on the official site, it's better quality there.)


I have been working on this project for about 2 months now. i'm so excited to be able to start sharing it with you and getting your feedback!! but first, a little history about how this came to be: I had been trying to figure out a way to get my enthusiasm back up about this blog, and the other social media projects i've worked on in the past. i had so much fun and was doing very well at blogging regularly when i was writing about how to re-fashion clothes, but, now with two kids, my sewing machine gets used less and less.

on the other hand... one thing i am always talking about, doing, and teaching about is hair and makeup! i do it at the salon while i'm at work. i talk about it with my friends while our kids play together, i teach my family about hair and makeup during our family events. it's just always on my mind. but... i didn't want to become another "beauty blogger" because i did not want to have that stigma following me around, i'm usually not wearing makeup, have day 5 hair loaded up with dry shampoo, and am not the skinniest girl in the world. plus, there are a million girls out there already doing hair tutorials and beauty tips. but... doing hair tutorials is honestly only one very small part about the information i feel like i could share. and that's where i feel like i can stand out, and be unique in this over-saturated world of beauty bloggers.

i want to TEACH.

not just show you how to do something. TEACH.

so, teach about what you ask?

well, i sat down and wrote out over 70 different tips and tricks i've learned as a hairstylist. some super nerdy one's like why red dye molecules are the first to fade out, but the one's that don't fade seem to hold on to the hair strand for dear life when trying to bleach them out! (hint: it's because it's the largest color molecule) and other simple ones like how to braid your hair to make it so that strands from your layers don't stick out during the day. i basically made a list of all the things i talk to my clients about in the chair at the salon. questions they have, reasons behind what i'm doing, and more.

now i am ready to spill those secrets to all of you!

i initially wanted a resource that my clients could refer to when they have questions about their hair but don't have an appointment to ask me about it for months. a refresher course of sorts for salon quality hair in-between appointments. but as i started talking with my friends, co-workers, and other bloggers. i realized that this could be a huge asset for more than just my clients, but anyone's clients! so... there you go. that's the reason i started this new side of my blog.

i hope you'll support me in this endeavor by subscribing to my channel and maybe even sharing the youtube video i made on your facebook page if you feel like the tips i shared were helpful!

i'm also going to be posting here on the blog, sharing tips on my instagram more frequently, obviously snapchatting about the behind the scenes process, and even periscoping about it (my username on all of these sites is @valerijones if you want to follow) i really am so excited for all that's in store.

if you got to the end of reading this entire post. you deserve a cookie. seriously.

much love!!!
Valeri Jones

Sunday, May 11

THIS is my mothers day present


it's mothers day, and all i asked for was the time to sit down and write this blog post. no joke. that's my present. mostly because i took these pictures the day before we left on our cruise last week (that post is coming next) and so i spent all last week getting excited to write it all down and share the good news with you guys!

i LOVE a good before and after picture. but, because of my knowledge in editing and Photoshop from taking classes on it in college for years, i am very critical. if i see one thing out of place, i basically discredit the entire product review. so... with that said, let me give you a few disclaimers: no, i did not edit these pictures. but... a few things have changed between the before and after picture -besides my makeup- mostly the lighting in the room from my living room window was changing because instead of this routine taking me about 15 minutes like usual, it took me over an hour to finish because i had to take all the pictures with my tripod and remote as i went. so... the sun was starting to set as i finished. also, if you notice, my hair looks a bit darker in the second picture, that's just because i brushed out my curls right before i took the before picture, so they look lighter and fluffier. in the after picture, those curls had settled. i tried my hardest to stay in the same pose, with the same expression for all of the pictures. my sister says i look angry, but i promise i'm not, apparently this is just the face that's easiest for me to replicate picture, after picture, after picture.

now that we've got that covered, let's get onto what i did in order to evoke this transformation!

i skipped all of the moisturizers and primers and just started right in with the new bareMinerals bareSkin pure brightening foundation serum. you guys, this stuff is a dream. today i am wearing the shade "07 bare natural", it is a little darker than my natural skin color but that is on purpose since i have fake tan on my neck and body for the summer. (the fake tan i use is st tropez) i haven't even touched any other foundation since first trying this. it goes on so smoothly, and looks so natural that it even has my husbands seal of approval. he loves that it doesn't look cakey even from his up close view. he is a man that openly admits that he would rather see me in jeans and a tee shirt, with no makeup on and my hair in a ponytail. (sooooo not my style) so his approval is a big deal! i would highly recommend getting their foundation brush as well, it works perfectly when paired with their new serum. the "well" in the center of the brush makes the application of this product so easy and smooth. to apply this product, you just shake the container to mix, and start by dropping two drops into the well of the brush, buff in circular motions starting in the center of your face, or where you feel you need most coverage, and add more product a few drops at a time until you achieve your desired coverage. 1-2 drops is light coverage 3-4 drops is medium coverage and 5-6 drops is full coverage. i use 6 drops because i am slightly changing the color of my face to match my tan. if i was using a lighter color i am sure i would feel like i had enough coverage with three drops. also, some have asked if i use a powder to set the foundation... no, i do not. only because i haven't felt the need for it. the foundation dries pretty matte and i have normal to dry skin. if you have oily skin i would recommend setting this foundation with bareMinerals mineral veil. or, if you found that this product didn't stay all day like you wished, try using the powder to see if it helps. i have had absolutely no complaints about this product and so i haven't tried changing anything.

 ^^gotta love that my camera remote got it's 10 seconds of fame in this shot.
next i added some blush and bronzer. using bareMinerals bronzer in "warmth" and their buffing brush i created a subtle line in the hollows of my cheek from my ear to the center of my cheek and along my hairline. next i apply their blush in "beauty". using their flawless application face brush directly to the apples of my cheek and sweeping upward towards my temples.


 next i pencil in my eyebrows. i use anastasia's brow wiz skinny brow pencil in brunette. i love it because it is so easy to use. i have heard good things about the bareMinerals eyebrow pencil, but until i run out of this anastasia stuff, i feel no need to try anything else. i apply this with soft hairlike strokes along my eyebrow and use the spooley brush on the other end of the pencil to soften and blend any harsh lines. after filling in my brows, i highlight my brow bone underneath my brows and the inner corner of my eye with the anastasia brow duality chubby pencil in "camille sand". i have also used the bareMinerals eyeshadow color in "snow" to achieve this same highlighting effect in matte.


 next i do my eyeshadow. this vary's from day to day, i love to change up my eyeshadow looks depending on what activity i am going to do that day, or what i am wearing. today because i am going for a more natural look, i used my naked palette colors "naked" and "buck" in my crease to create some definition and draw attention to my eyes without the use of shimmer.
next i put on eyeliner using a light hand so that it is not too dark or too thick and one coat of mascara using bareMinerals lash domination. if i am going for a natural look i do only one coat on the top lashes, and if i want to show off the length of my lashes i do 2-3 coats. letting my mascara dry completely between coats and one coat on the lower lashes to balance out the eye.
lastly, i put on some lipgloss. the moxie lipglosses are by far my favorite lipgloss. i currently own 6 of their colors, -it's become quite an addiction- but, my current favorite for a natural look, and the color i am wearing today is the shade "rebel" it's a soft pink with no sparkle. my lips are pretty darn huge, so i need to stay away from sparkle if i'm wanting a natural look,  if your wanting some sparkle, my favorite is "spark plug"
^^i'm a deer in headlights, it's awesome.
makeup is one of those instant self esteem boosters for me, i love wearing it, but i love it even more if people don't instantly recognize that i have any on. this look is by far my most complimented makeup look, and i hope this helps you to create your own natural look!

 ...and now for a picture of me actually smiling to show how happy this makeup makes me feel!!! :) Happy Mothers Day!

Thursday, February 13

Valentines Bunting sewn with only one line


I have seen all of these cute bunting garlands around on pinterest, along with everybody else in the world, im sure. but... the thing that kept me from making them myself was that most of the professional looking ones had these perfectly sewn triangles, and, i really did not want to have to cut out, and sew two triangles together, flip right side out, iron... you know the drill. so, i decided to do this the much easier way.

I got a packet of moda charm pack quilt squares from a local quilting shop, but you could easily find yours online. i love how they have already paired together cute colors and styles for you. that way, you just pick one that you think will work for your own decor/holiday and boom your ready. all you have to do is buy the bias tape, iron, and sew one line. it's awesome. here's how i did it.

You Need:
27 quilting squares (5x5) or one "charm pack"
2 packets of bias tape, double fold, 3 yards each. making a total of 6 yards of bias tape.
thread to match bias tape
possibly a cutting board and pinking rotary cutter if you did not buy your quilting squares pre-cut.
total $ spent: ~15.00
pick out 27 of your favorites from the quilting squares in the charm pack (if you want to make your own quilt squares, just use your pinking rotary cutter or pinking scissors and cut out 27, 5 inch by 5 inch squares) but if your using the charm pack, they are already cut for you so you can skip this step.

make your pattern, i like to do this by placing them in piles, of light, medium and dark. then alternate shades as i make one big pile.
fold them in half from corner to corner, and iron. you just made a triangle, it will look super cute from both front and back, and wont fray because of the pinking cut along the edges.

now you sew two bias tape's together (making sure the bias tape isn't folded when you sew it) to make a total of 6 yards of bias tape. (or buy 6 yards worth at the store and skip this step) start sewing the bias tape without any triangles in it first to leave room for attaching it to the wall, post, etc. (about 10 inches) then you open the fold, stick the triangle's folded edge within the bias tape, and sew along. i like to leave about 1/2 inch between each triangle to make it not so crowded (if you prefer yours close together then you might be able to fit 28 or 29 squares instead) then, once you've used all of your triangles, finish sewing the bias tape closed to make the other end for attaching. cut strings and you are done!! here's a video from the yvestown blog if you would like to see. and the best part: no pinning!!


Happy Valentines Day!

Monday, February 10

Valentines Fundraiser

with my new calling as young womens president, the most intimidating thing right now is planning for girls camp. as a presidency we have been talking about different ideas for girls camp fundraisers like, a bake sale, car wash, selling mothers day pies, etc. but, the one we decided on doing was a valentines day dinner and dance. 

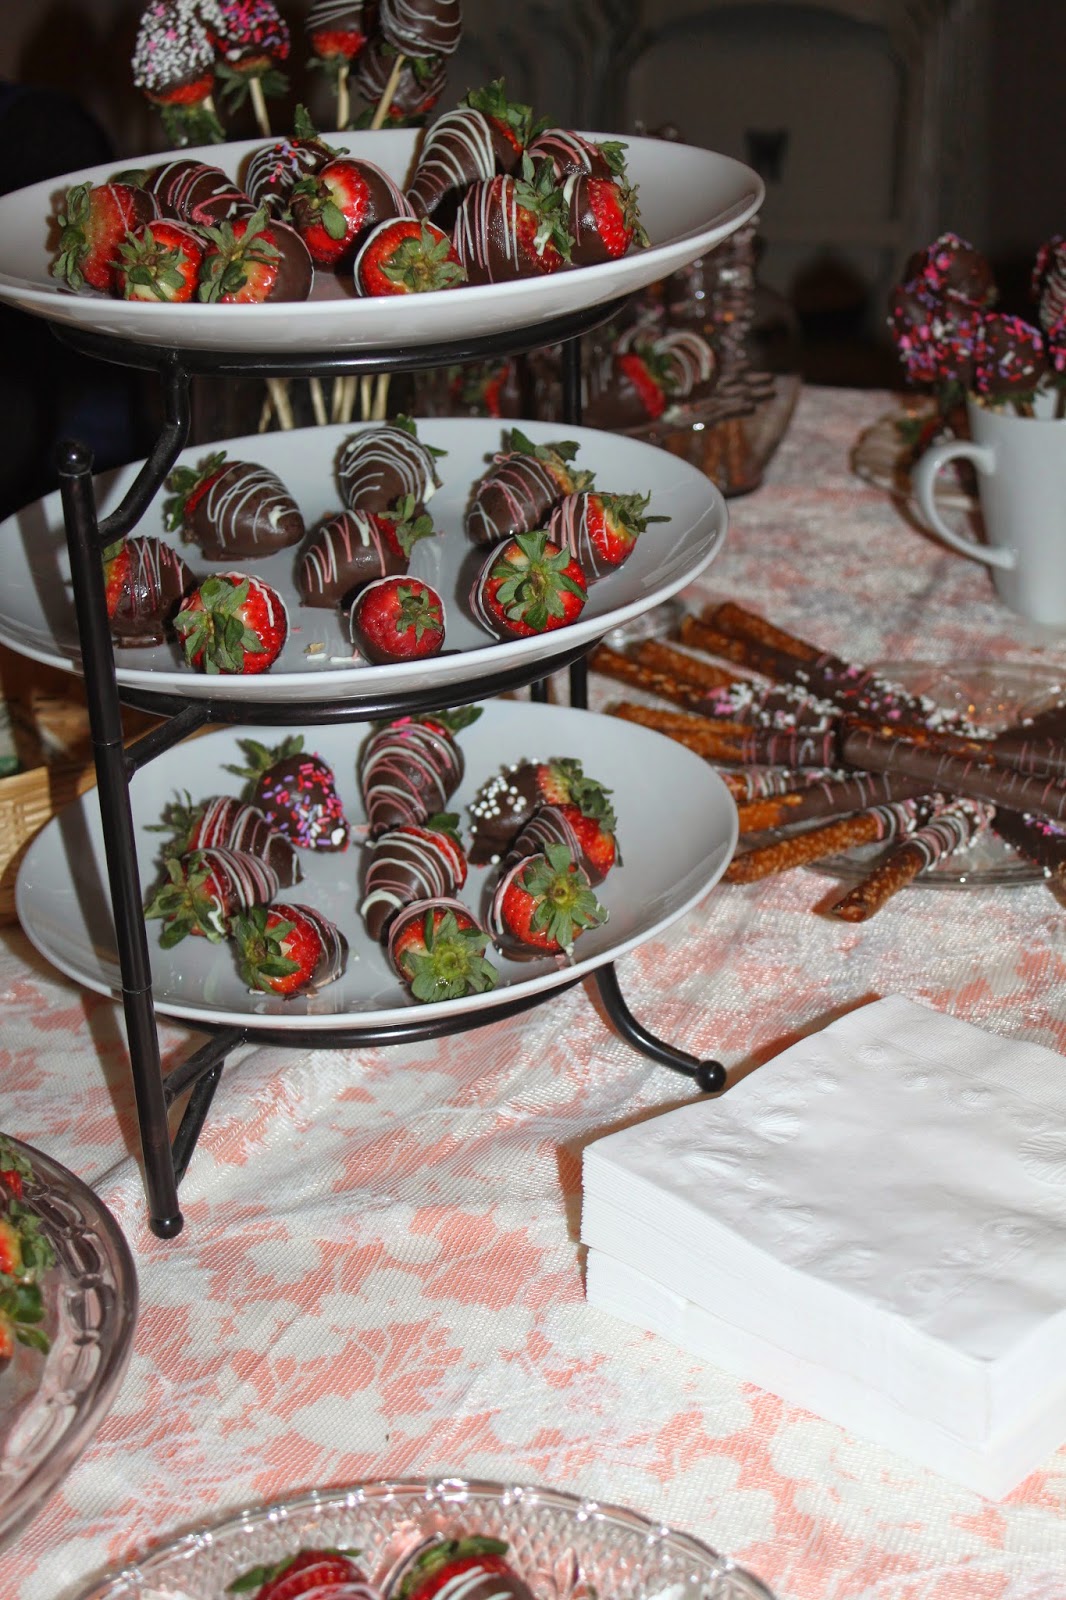
the activity evolved as we planned for it, and by the end we had quite a few different items for sale, things to do, and a whole lot of really cute decorations. we made most of the decorations, and cards at mutual activities, and dipped the strawberries/pretzels on the mutual night closest to the activity. each of those mutual activities were very well received by the girls. 

the night started with a little munch and mingle activity where we sold most of our items, and had the ward members "mingle" on the couches that we brought in from the foyer and mothers lounge. :) then we served a spaghetti dinner and finally had a dance party at the end. it truly was such a fun night. 

using mostly decorations from home, buying food and items to sell for about 40 guests, we spent 200.00 and made a profit of just over 400.00 which is great for us because we only have 10 young women going to camp. maybe this will give you guys an idea of what to do for fundraisers for your youth!

the 3 course dinner was 10.00 per person.
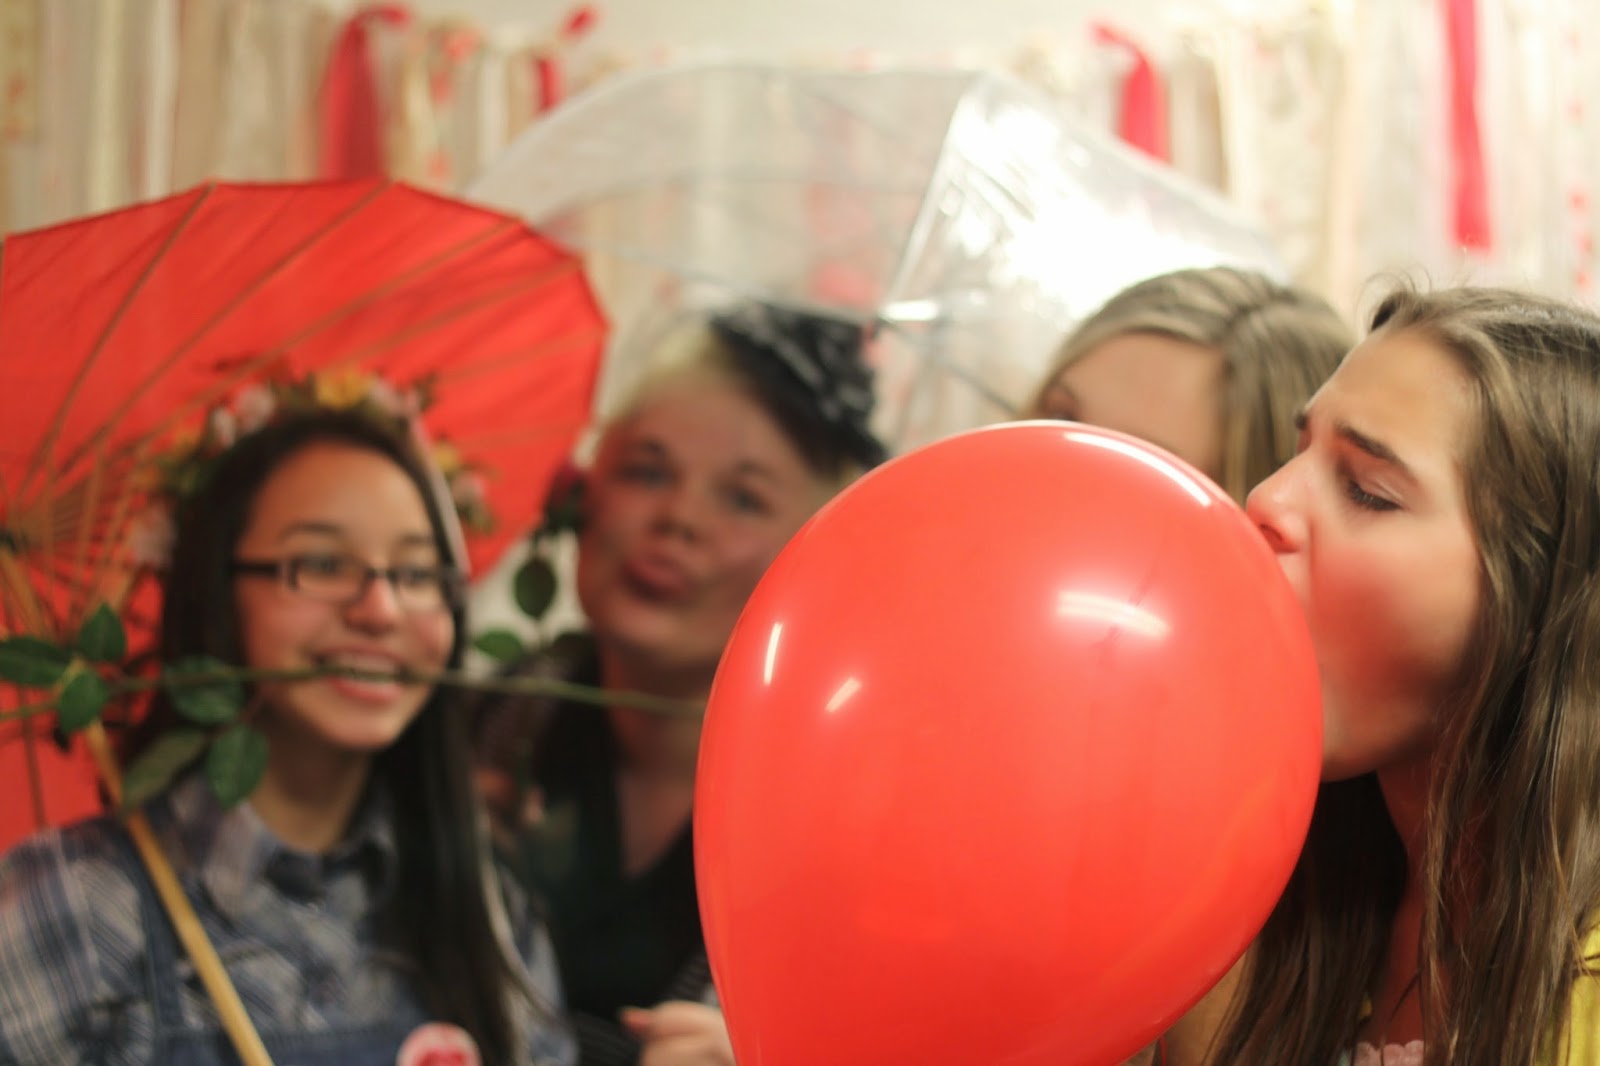
the photo booth was 2.00 per person
the chocolate dipped strawberries/pretzels were .50 each
the pins were 1.00 each
the valentines cards were purchasable for whatever they could afford
we sold caricatures drawn by one of our young women.
and finally we sold single red roses for 2.00 that the girls will deliver on valentines day, since this activity was done a few days before valentines day. 


and... some of my favorites of the girls from the photo booth


Saturday, January 25

Dual Braid Crown


this style is really pretty simple, all you need to know is how to french braid, but it's much easier than it looks and gets tons of compliments, and, my favorite of all: it's great for second day hair!
first you part your hair, then do a small "corn row" along your forehead until you reach your temples, or eyebrows, then stop french braiding and just finish braiding until you reach your ends. tie it off loosely or put a bobby pin on the ends for now to keep the braid from unraveling. then do another corn row directly behind it. do the same to the other side.
take the two braids farthest from your forehead and tie them together creating a "crown" then take the two braids closest to your forehead and tie them together, making sure this one is much looser so that the tie will sit lower on the back of your head. remove the other ties/bobby-pins that you had in each individual braid and unravel the braid until you reach the elastic.
from here you are done, unless you want to add some curls, these curls were done yesterday so i didn't have to do, but, it would look great if you had your hair in a french braid the day before, or you have some beach waves or natural curl to your hair already. if the back of your hair is greasy, i would recommend using your favorite dry shampoo, but besides that all you have to do is go out and enjoy the day knowing that your hair will be out of your face, and in place the entire day!!
yeah, it's that good! :P